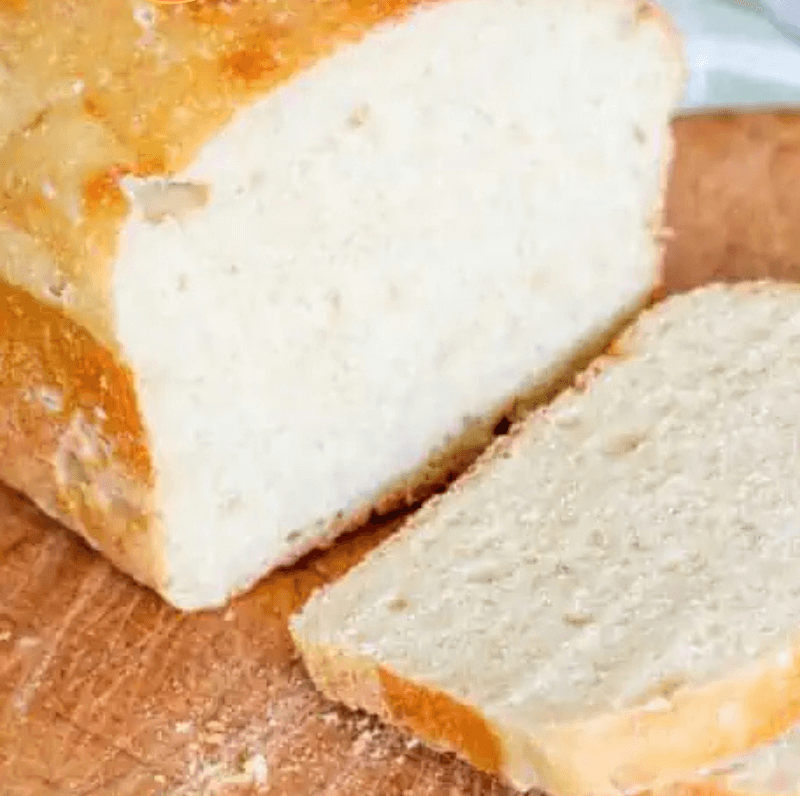
Making homemade sandwich bread is a wonderful way to ensure freshness and enjoy a deliciously soft loaf! Here’s a straightforward recipe for soft, fluffy sandwich bread. low-carb, keto-friendly, and gluten-free sandwich bread! It uses almond flour and coconut flour to keep it fluffy and delicious, while maintaining a low carb count.
Ingredients:
- 1 cup active sourdough starter (gluten-free)
- 1 1/2 cups lukewarm water
- 4 cups almond flour
- 1/2 cup coconut flour
- 2 tablespoons granulated erythritol or keto-friendly sweetener (optional, for slight sweetness)
- 2 tablespoons unsalted butter, melted
- 2 teaspoons salt
Instructions:
1. Prepare Sourdough Starter:
In a large mixing bowl, combine the active gluten-free sourdough starter with lukewarm water. Stir until the starter is dissolved completely in the water.
2. Mix Dough:
Add the almond flour, coconut flour, erythritol (or sweetener of choice), melted butter, and salt into the bowl with the sourdough starter mixture. Stir until a shaggy dough forms. The dough will be thicker than traditional wheat dough but should hold together.
3. Knead Dough:
Turn the dough out onto a surface lightly dusted with almond flour and knead for about 5-10 minutes. Gluten-free dough will not have the same elasticity as traditional dough, but it should become smooth and slightly tacky to the touch.
4. First Fermentation:
Place the dough into a greased bowl, cover it with a damp cloth or plastic wrap, and let it ferment at room temperature for 12-24 hours (depending on the activity of your starter). During this time, the dough should double in size, and you may notice small bubbles on the surface.
5. Shape Loaf:
After the first fermentation, gently deflate the dough. Shape it into a loaf by folding the edges towards the center and rolling it tightly. Place the shaped loaf into a greased loaf pan.
6. Second Proofing:
Cover the loaf with a damp cloth or plastic wrap and let it proof for 2-3 hours at room temperature. The dough should increase in size by about 50% and should spring back slightly when pressed with a finger.
7. Preheat Oven:
About 30 minutes before baking, preheat your oven to 375°F (190°C). If you have a pizza stone, placing it in the oven before preheating can help with heat distribution.
8. Bake Bread:
Once the loaf has finished proofing, remove the cover and transfer it to the preheated oven. Bake for 35-40 minutes or until the bread is golden brown and sounds hollow when tapped on the bottom. The internal temperature should reach about 200°F (93°C) for fully cooked bread.
9. Cool and Slice:
Once baked, remove the bread from the oven and let it cool in the pan for about 5 minutes. Transfer the loaf to a wire rack to cool completely. This cooling step is important for achieving the best texture.
10. Serve:
After the bread has cooled, slice it and enjoy it fresh with your favorite low-carb spreads or sandwich fillings.
Tips for Success:
- Starter Activity: Ensure your sourdough starter is active before starting this recipe. A bubbly, frothy starter will help the dough rise better.
- Flour Adjustments: If you prefer a lighter texture, you can adjust the flour ratio by adding more almond flour or experimenting with flaxseed meal for extra fiber.
- Proofing Environment: A warm kitchen will help with fermentation, but avoid any drafts. You can also use the oven’s proofing setting if available.
Low-Carb Keto-Friendly Gluten-Free Sandwich Bread
Enjoy this low-carb, keto-friendly, and gluten-free sandwich bread as a versatile base for all your favorite sandwich fillings!
Preparation Time: 20 minutes
Resting Time: 12-24 hours (sourdough fermentation) + 2-3 hours (proofing)
Baking Time: 35-40 minutes
Total Time: 14-27 hours
Servings: 1 loaf
Ingredients:
- 1 cup active sourdough starter
- 1 1/2 cups lukewarm water
- 4 cups bread flour
- 2 tablespoons granulated sugar or honey
- 2 tablespoons unsalted butter, melted
- 2 teaspoons salt
Instructions:
- Prepare Sourdough Starter:
- In a large mixing bowl, combine the active sourdough starter and lukewarm water. Stir until the starter is dissolved in the water.
- Mix Dough:
- Add the bread flour, sugar or honey, melted butter, and salt to the bowl with the sourdough starter mixture. Stir until a shaggy dough forms.
- Knead Dough:
- Turn the dough out onto a lightly floured surface and knead for about 10-15 minutes, or until the dough becomes smooth and elastic.
- First Fermentation:
- Place the dough in a greased bowl, cover it with a damp cloth or plastic wrap, and let it ferment at room temperature for 12-24 hours, or until it has doubled in size and bubbles appear on the surface.
- Shape Loaf:
- After the first fermentation, gently deflate the dough and shape it into a loaf. Place the loaf in a greased loaf pan.
- Second Proofing:
- Cover the loaf with a damp cloth or plastic wrap and let it proof at room temperature for 2-3 hours, or until it has increased in size by about 50% and holds an indentation when gently pressed with a finger.
- Preheat Oven:
- About 30 minutes before baking, preheat your oven to 375°F (190°C).
- Bake Bread:
- Once the dough has finished proofing, remove the cover and transfer the loaf to the preheated oven. Bake for 35-40 minutes, or until the bread is golden brown and sounds hollow when tapped on the bottom.
- Cool and Slice:
- Remove the loaf from the oven and let it cool in the pan for 5 minutes. Then, transfer the loaf to a wire rack to cool completely before slicing.
- Serve:
- Once cooled, slice the sourdough sandwich bread and enjoy it fresh with your favorite sandwich fillings or spreads.
Note: Adjust the fermentation and proofing times based on your sourdough starter’s activity and the ambient temperature in your kitchen.
