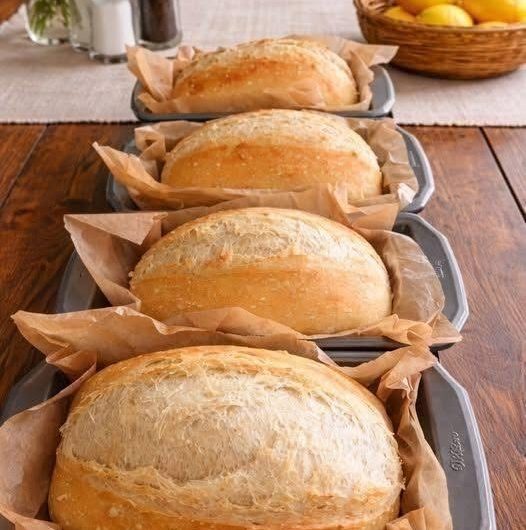

This zero-carb carnivore bread is a simple option when you want something that can be used in place of regular bread without using flour, yeast, oil, butter, nuts, seeds, or coconut. The recipe uses a small number of ingredients, and the preparation is mostly about getting the egg whites to the right consistency before combining everything.
There are two ways to make it: as a thin flatbread that can be cut into sandwich-sized pieces, or as a softer loaf that can be sliced as needed. Both versions use exactly the same batter, but the baking method and final texture are a little different.
The flatbread is particularly handy when you want individual sandwich pieces ready to use. The loaf takes a little more work when serving because it needs to be sliced, but it has a softer interior.
What You Need
The recipe uses six main ingredients:
- 4 large eggs
- 15 g egg white powder
- 15 g whey protein isolate
- ¼ tsp xanthan gum
- ¼ tsp cream of tartar
- ¼ tsp fine Himalayan pink salt
There is also one optional ingredient:
- 1 tsp allulose
- The allulose is only there if you want the finished bread to have a slightly browner outer appearance. Without it, the bread will be paler. It does not make a difference to the taste or texture according to the recipe.
- For the dry ingredients, use egg white powder and whey protein isolate without fillers or additives. Different brands can produce different results, so checking the ingredient list is important.
- The eggs are listed as large eggs with a total weight of 270 g with shells, approximately 170 g of egg whites and 70 g of yolks. Egg sizes can vary from one country to another, so weighing the eggs is the most reliable way to keep the recipe consistent.
Choosing Flatbread or Loaf
- Before starting, decide which version you want to make.
Flatbread
- The flatbread is spread into a thin layer over a lined baking rack. Once baked and cooled slightly, it can be cut into 12 sandwich-size squares.
- This version is convenient because the portions are already prepared. The finished pieces can be wrapped individually or together with non-stick baking paper and kept refrigerated.
- The flatbread is relatively dry, so it works best when paired with fillings or other foods that add moisture.
Bread Loaf
- The loaf is baked in a 2 lb plum-cake silicone mould. The batter is added in two stages, with the mould tapped against the worktop between additions to help remove air pockets.
- The loaf takes longer to bake and dry than the flatbread. The result is softer beneath the outside layer and can be sliced when needed.
- Both versions are worth trying, especially if you are deciding which shape works better for how you normally use bread.
Prepare the Oven and Equipment
- Start by preheating the oven to 160°C on the static setting.
- If making flatbread, cover the entire surface of a baking rack with either non-stick parchment paper or a silicone baking mat. Make sure the surface is ready before the batter is prepared, because the mixture is best used immediately after it has been whipped and combined.
- If making the loaf, have a 2 lb plum-cake silicone mould ready.
- A kitchen scale is especially useful for this recipe. Measuring the eggs by weight helps account for differences in egg size, while the dry ingredients also need to be measured accurately.
Separate the Eggs
- Separate the four eggs carefully.
- Put the egg whites into a large mixing bowl. Place the yolks into a separate small bowl.
- The separation is important because the whites need to be whipped very firmly before the other ingredients are incorporated.
- For the most consistent result, use the egg weights provided in the recipe rather than relying only on the description of the egg size.
Whip the Egg Whites
- Add the cream of tartar and fine Himalayan pink salt to the egg whites.
- Using a hand-held electric whisk, begin on low speed. Gradually increase the speed and continue whisking until the whites become extremely firm.
- You are looking for very firm peaks. The mixture should hold its shape, and you should be able to see deep trails left behind by the whisk blades. You should also notice resistance as the blades move through the mixture.
- This stage is one of the most important parts of the recipe. The egg whites need to be sufficiently firm before the dry ingredients and yolks are added.
- Take your time here rather than stopping as soon as the whites look foamy or lightly whipped.
Mix the Dry Ingredients
- While the egg whites are ready, weigh the egg white powder, whey protein isolate and xanthan gum.
- If using allulose, include the 1 teaspoon at this stage.
- Mix the dry ingredients together and sift them over the whipped egg whites.
- Sifting helps distribute the powders over the surface instead of leaving concentrated pockets of dry ingredients in one place.
Incorporate the Powders
- Set the electric whisk to the bare minimum speed and use it to incorporate the powders into the egg whites.
- Once the dry ingredients are incorporated, increase the whisk speed to high.
- Continue whipping until the mixture becomes dense and you can feel resistance against the whisk blades. Once it reaches that point, continue whipping for another 30 seconds.
- The mixture should become thick and substantial rather than remaining light and loose.
- There will usually be some of the mixture caught around the whisk blades. Keep it there for the next step rather than stopping to clean the whisk.
Prepare the Egg Yolks
- Using the same whisk, briefly whip the egg yolks in their separate bowl.
- The small amount of mixture remaining on the whisk blades can stay there while you do this.
- Whip the yolks until they become pale and creamy.
- They do not need extensive whipping. The goal is simply to change their consistency before they are added to the main mixture.
Combine Everything
- Scoop the whipped yolks over the egg-white mixture.
- Use the whisk again to combine everything until the batter is homogeneous.
- At this point, the mixture should be thick and voluminous.
- Avoid leaving streaks of yolk unmixed, but make sure the ingredients are incorporated evenly so the finished bread has a consistent texture.
- Once the batter is ready, move directly on to shaping it.
Making the Flatbread
- For the flatbread version, scoop the finished batter onto the centre of the prepared parchment paper or silicone baking mat.
- Spread it evenly into an area of approximately 32 cm × 38 cm.
- Try to keep the thickness as even as possible across the whole surface. An uneven layer can result in some parts being thinner or thicker than others.
- Once the batter has been spread, place the rack into the preheated static oven.
- Bake the flatbread for 20 minutes.
Cooling and Removing the Lining
- When the baking time is complete, remove the flatbread from the oven.
- Allow it to cool for 5 minutes.
- Turn it over onto the worktop and carefully peel away the parchment paper or baking mat.
- Keep the bread as flat as possible while removing the lining. It should peel away neatly without sticking.
- If the lining is removed carefully, the baked surface should remain intact.
Cutting and Drying
- Once the lining has been removed, cut the flatbread into 12 sandwich-size squares.
- Place the pieces back on the rack and leave them to air-dry for approximately 10 minutes.
- After that, wrap the pieces with non-stick baking paper and place them in the refrigerator.
- Keeping the finished bread chilled helps it stay fresh and reduces the excessive stickiness that can develop when it is stored at room temperature.
Making the Bread Loaf
- For the loaf version, use a 2 lb plum-cake silicone mould.
- Once the batter is ready, spoon approximately half of it into the mould.
- Tap the mould against the kitchen worktop to help remove air pockets.
- Add the remaining batter and flatten the top so that the surface is even.
- Place the mould into the preheated static oven.
- The loaf requires a different baking and drying process from the flatbread.
- Bake it for 30 minutes.
- When the 30 minutes are finished, turn the oven off. Open the oven door and leave the loaf inside for another 10 minutes.
- Then remove it from the oven and allow it to cool.
- Once it has cooled enough to handle, lift the loaf out of the silicone mould.
- Return the loaf to the oven and allow it to dry for another 15 minutes.
- After this additional drying time, remove it and wrap it with non-stick baking paper.
- Keep the loaf refrigerated.
Storage
- Refrigeration is an important part of storing this bread.
- The finished flatbread or loaf should be wrapped with non-stick parchment paper and kept in the refrigerator.
- At room temperature, these flour-free baked pieces can become increasingly sticky over time. There can also be an issue with mould growth after a couple of days, particularly in hot and humid conditions.
- Keeping the bread chilled helps it last longer and keeps the texture more manageable.
- For the flatbread, the individual squares can be kept together with baking paper between or around them as needed. For the loaf, wrap the whole loaf and slice it when you need bread.
A Few Things That Matter
- The first thing to pay attention to is the eggs. Since egg sizes vary between countries, the stated weights are useful for getting the intended balance between whites and yolks.
- The second important point is the firmness of the egg whites. They need to be whipped until very firm peaks form, with visible trails from the whisk and noticeable resistance as the blades move through the mixture.
- Accurate weighing also helps. A metric kitchen scale is useful for both the eggs and the dry ingredients.
- The allulose is optional. Leave it out if you do not care about a browner outer appearance. The bread will simply look paler.
- The choice between flatbread and loaf comes down mainly to convenience and texture. The flatbread gives ready-to-use sandwich portions, while the loaf is softer and needs to be sliced.
Serving and Using the Bread
- The flatbread pieces are ready to use once they have cooled, dried slightly and been refrigerated.
- Because the flatbread can be quite dry, it works well with sandwich fillings and butter if that fits the way you serve it.
- The loaf has a softer texture underneath its outer layer and can be cut into slices whenever needed.
- Both forms are made from the same batter, so there is no need to prepare a separate mixture for each one. The main difference is how the batter is shaped, baked and dried.
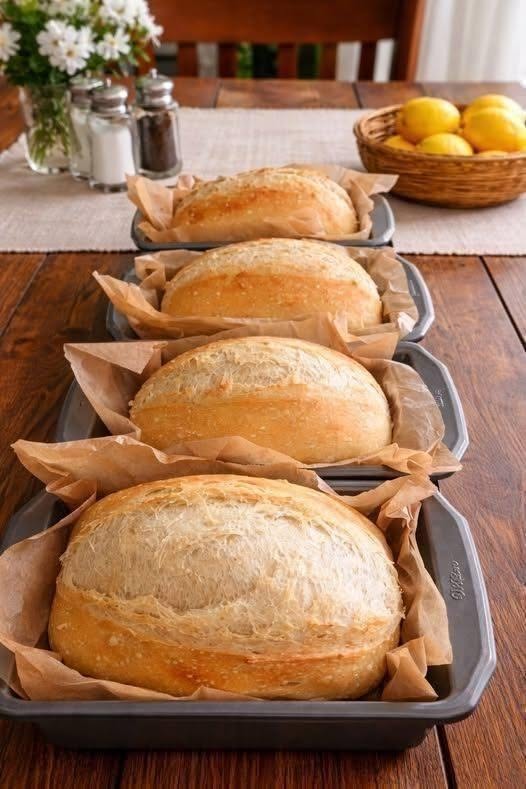
Zero-Carb Carnivore Bread Loaf
A simple flour-free, yeast-free bread made with eggs, egg white powder and whey protein isolate. The batter can be baked as thin flatbread for sandwich-sized portions or as a softer loaf for slicing.
12
servings15
minutes30
minutes31
kcal45
minutesIngredients
4 large eggs — 270 g total weight with shell, approximately 170 g egg whites and 70 g yolks
15 g egg white powder — use a variety without additives or fillers
15 g whey protein isolate
¼ tsp xanthan gum
¼ tsp cream of tartar
¼ tsp fine Himalayan pink salt
1 tsp allulose
Directions
- Preheat the oven to 160°C static.
- For flatbread, line the entire surface of a baking rack with non-stick parchment paper or a silicone baking mat.
- For a loaf, have a 2 lb plum-cake silicone mould ready.
- Separate the eggs, placing the whites in a large bowl and the yolks in a small bowl.
- Add the cream of tartar and salt to the egg whites.
- Whip with an electric whisk, starting on low speed and increasing to high, until very firm peaks form and the whisk leaves deep trails.
- Weigh the egg white powder, whey protein isolate and xanthan gum. Add the allulose if using.
- Mix and sift the dry ingredients over the whipped egg whites.
- Use the electric whisk on its lowest speed until the powders are incorporated.
- Increase to high speed and whip until the mixture becomes dense and the whisk meets resistance. Continue for another 30 seconds.
- Briefly whip the egg yolks with the same whisk until pale and creamy.
- Add the yolks to the egg-white mixture and whisk until evenly combined and thick.
- Add half of the batter to the 2 lb silicone mould.
- Tap the mould against the kitchen worktop to remove air pockets.
- Add the remaining batter and flatten the top.
- Bake for 30 minutes.
- Turn the oven off, open the door and leave the loaf inside for 10 minutes.
- Remove and allow it to cool.
- Lift the loaf from the mould and return it to the oven.
- Dry for another 15 minutes.
- Remove, wrap with non-stick baking paper and refrigerate.
Notes
- Egg sizes vary between countries, so use the stated weights when possible.
- A metric kitchen scale is recommended for accurate measurements.
- Allulose is optional and mainly affects the outer colour.
- Keep the finished bread refrigerated and wrapped in non-stick baking paper.
- The flatbread is drier, while the loaf is softer beneath the outer layer.
Nutrition Facts
- Serving Size: 12 g
- Calories: 31kcal
- Fat: 1.8g
- Carbohydrates: 0g
- Protein: 3.8g
