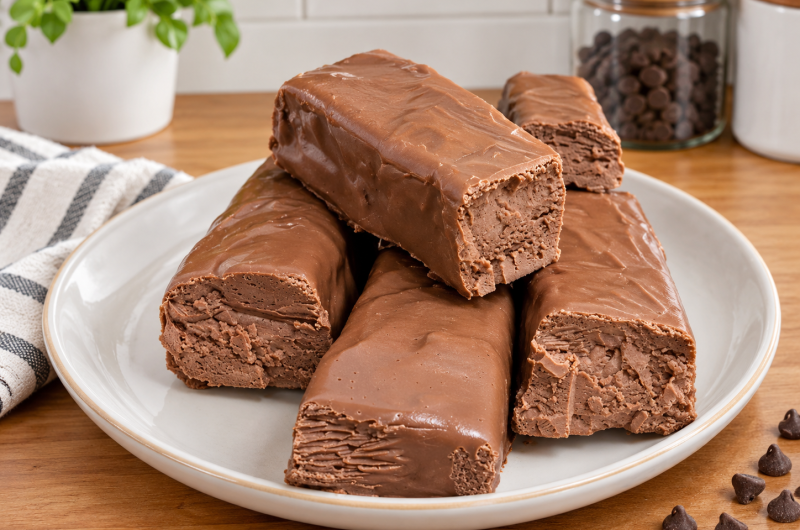

There’s something especially satisfying about a chocolate candy bar with a soft, airy center and a smooth chocolate coating. This Keto Musketeer Candy brings that same kind of experience to the kitchen in a simpler, low-carb version. Instead of a traditional sugary filling, the center is made with whipped cream, cream cheese, cocoa powder, keto sweetener, and vanilla. Once chilled and cut into bars, the filling is covered with melted sugar-free chocolate to create a thin chocolate shell.
The result is rich without being overly complicated. The center has a light mousse-like texture, while the outside becomes firm and chocolatey after chilling. It’s a nice option when you want something that feels like a candy bar but fits more easily into a keto or low-carb eating style.
Another advantage is that there’s no baking involved. Everything comes together with a mixer, a little chilling time, and melted chocolate. Once the bars are prepared, they can be kept in the refrigerator or freezer, making them convenient for preparing ahead.
What Is Keto Musketeer Candy?
- Keto Musketeer Candy is a homemade low-carb take on the classic chocolate candy-bar idea. The filling is soft and whipped rather than dense, giving it a texture somewhere between chocolate mousse and nougat-style candy.
- The process is fairly straightforward. First, the cream cheese is blended with cocoa powder, powdered keto sweetener, and vanilla. Heavy cream is whipped separately until it becomes thick and fluffy. The two mixtures are then gently combined to create the chocolate filling.
- After that, the filling is spread into a parchment-lined dish and frozen until firm enough to cut. The chilled mixture is sliced into rectangular bars and frozen again briefly. Finally, each bar is dipped into melted sugar-free chocolate mixed with coconut oil or butter.
- Once the coating hardens, the candy is ready to enjoy.
Why This Recipe Works
- The texture is what makes these bars stand out. Heavy whipping cream provides the light, fluffy structure, while cream cheese gives the filling enough body to hold together after chilling. Cocoa powder brings a deep chocolate flavor without requiring traditional sugar.
- Using powdered keto sweetener is also important. Because the sweetener is incorporated directly into the creamy filling, a powdered texture blends much more smoothly than larger granules. This helps keep the center creamy instead of gritty.
- The chocolate coating adds the final candy-bar touch. Sugar-free chocolate chips are melted with coconut oil or butter, which makes the chocolate easier to work with and helps create a smoother coating around the cold bars.
Is This Recipe Keto-Friendly?
- Yes. The recipe is designed to be keto-friendly because it uses sugar-free chocolate, unsweetened cocoa powder, and a powdered keto sweetener rather than regular sugar.
- The exact carbohydrate and net-carb count can vary depending on the brands and types of chocolate and sweetener used. For anyone following keto strictly, it’s worth checking the nutrition information on the specific products being used, particularly the sugar-free chocolate chips.
- The recipe also contains a relatively high amount of fat from the heavy whipping cream, cream cheese, chocolate, and coconut oil or butter. That fits the general macronutrient pattern of many ketogenic desserts.
Can It Fit Into a Weight-Loss Plan?
- It can be included in a weight-loss plan when portions are kept reasonable. Removing added sugar can make the recipe lower in carbohydrates than a traditional candy bar, but it does not make the dessert calorie-free.
- The ingredients are still energy-dense, particularly the heavy cream, cream cheese, chocolate, and coconut oil or butter. For that reason, serving size matters even when the recipe fits within a low-carb or keto eating pattern.
- The eight-serving yield makes portioning easier. If you are tracking calories or carbohydrates, using the nutrition information from your actual ingredient brands will give you the most accurate estimate.
What You’ll Need
- You don’t need a long list of kitchen equipment for this recipe.
- A mixing bowl gives the cream cheese mixture enough room to blend evenly. A hand mixer or stand mixer makes whipping the heavy cream much easier and helps create the fluffy texture needed for the filling.
- Parchment paper is useful for lining the dish because it prevents the chocolate filling from sticking. It also makes lifting the chilled mixture out of the dish much easier.
- For the coating, a microwave-safe bowl works well for melting the chocolate in short intervals. A knife is all that is needed to portion the frozen filling into bars.
- Keeping the setup simple is one of the reasons this dessert works well for beginners.
Start With the Chocolate Filling
- The first step is preparing the creamy chocolate base.
- Place the softened cream cheese into a mixing bowl and beat it until smooth. This step is worth taking a little time with because any lumps in the cream cheese can remain noticeable in the finished filling.
- Add the unsweetened cocoa powder, powdered keto sweetener, and vanilla extract. Mix everything until the ingredients are fully incorporated and the mixture looks evenly chocolate-colored.
- At this stage, the mixture will be thicker than the finished filling. That’s exactly what you want because the whipped cream will be folded in next.
Whip the Heavy Cream Separately
- In another bowl, whip the heavy whipping cream on medium-high speed until stiff peaks form.
- The cream should become thick enough that it holds its shape when the beaters are lifted. Avoid stopping while the cream is still loose because the final filling depends on having enough whipped structure.
- At the same time, be careful not to overwork the cream. Once stiff peaks have formed, it’s ready to use.
Combine Everything Gently
- Add the whipped cream to the chocolate cream cheese mixture.
- This is one of the steps where a gentle touch makes a difference. Fold the whipped cream into the chocolate mixture rather than aggressively stirring it. The goal is to keep as much of the air in the whipped cream as possible.
- Continue folding until the mixture looks fluffy and evenly combined. There shouldn’t be obvious streaks of plain whipped cream or unincorporated chocolate mixture.
- The finished filling should look light, creamy, and mousse-like.
Chill Before Cutting
- Line a dish with parchment paper and spread the chocolate mixture into it. Aim for a layer approximately 1 inch thick.
- Place the dish in the freezer for 30–45 minutes, or until the filling is firm enough to handle.
- This chilling step is important. If the mixture is too soft, cutting the bars will be messy and the pieces may lose their shape. Freezing firms the mousse enough to make clean rectangular bars possible.
- Once firm, remove the filling from the dish using the parchment paper and cut it into rectangular bar shapes.
- After cutting, return the bars to the freezer for another 15 minutes. Keeping them very cold makes the coating process considerably easier.
Prepare the Chocolate Coating
- While the bars are chilling, prepare the coating.
- Place the sugar-free chocolate chips and coconut oil or butter in a microwave-safe bowl. Heat them in 20-second intervals, stirring between each interval.
- Short heating intervals are preferable to heating the chocolate for a long stretch. Chocolate can become overheated easily, and excessive heat can affect its texture.
- Continue heating and stirring until the chocolate is smooth and completely melted.
- The coconut oil or butter helps loosen the melted chocolate, making it easier to dip the frozen bars and allowing the coating to spread more smoothly.
Coat the Bars
- Take the frozen bars from the freezer one at a time.
- Dip each bar into the melted chocolate, making sure it is coated. Allow any excess chocolate to drip back into the bowl before placing the coated bar onto parchment paper.
- Because the filling is frozen, the chocolate should begin setting fairly quickly. Work steadily, but there’s no need to rush.
- If the chocolate becomes too thick while you are coating the bars, give it a brief, gentle reheat and stir until smooth again.
Let the Chocolate Set
- Once all the bars have been coated, place them in the refrigerator.
- Allow the chocolate to harden completely before serving. Chilling gives the outer shell time to firm up while the center remains creamy and soft.
- The bars are best served cold or allowed to sit briefly at room temperature if you prefer a slightly softer center. There is no need to reheat them.
Serving Ideas
- These chocolate bars work well as an after-dinner dessert, a small sweet treat during the week, or something to prepare ahead for gatherings.
- For a simple finishing touch, flaky salt can be sprinkled over the chocolate coating before it fully sets. The small amount of salt gives the chocolate a pleasant contrast.
- They can also be arranged on a dessert platter for holidays or other occasions where individually portioned treats are convenient.
Storage
- Keep finished bars in an airtight container in the refrigerator for up to 1 week. Chilling helps the chocolate coating stay firm and keeps the mousse-like center at the right consistency.
- For longer storage, place the bars in a freezer-safe container with parchment paper between the layers. They can be frozen for up to 2 months.
- When you want to eat them, thaw the bars in the refrigerator rather than leaving them out for a long period. This helps preserve both the chocolate coating and the creamy filling.
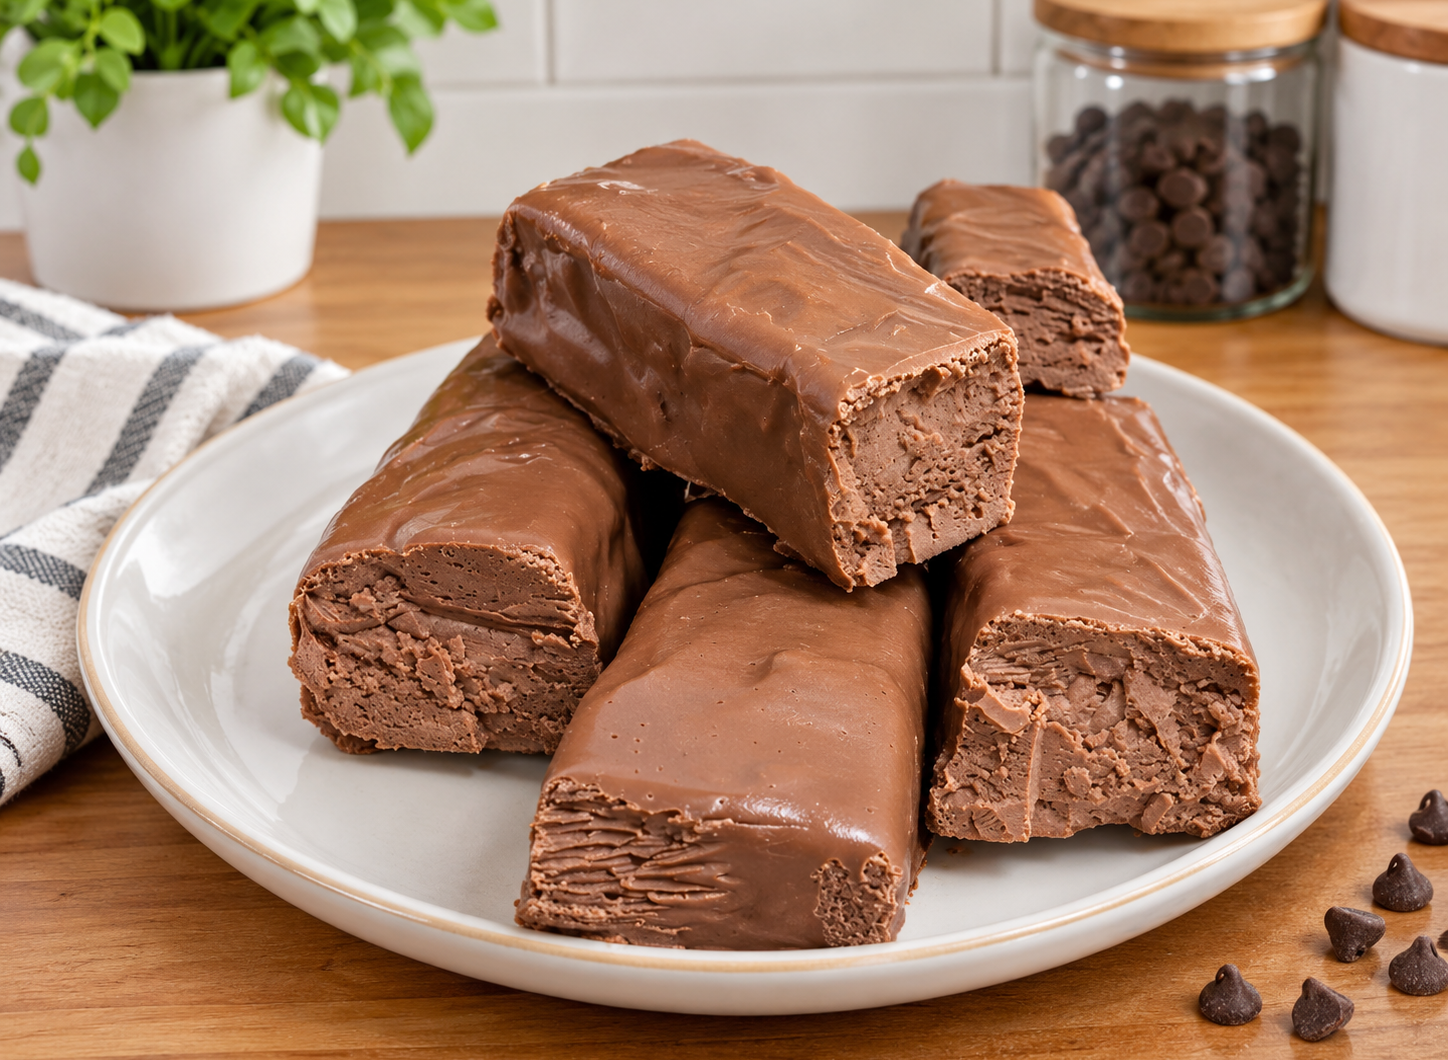
Easy Keto Chocolate Musketeer Candy
A creamy, fluffy chocolate mousse-style filling covered in a smooth sugar-free chocolate shell. This no-bake keto candy is rich, chocolatey, easy to prepare, and convenient to keep in the refrigerator or freezer for a low-carb sweet treat.
8
servings20
minutes5
minutes180
kcalIngredients
1 cup heavy whipping cream
4 oz cream cheese, softened
3 tbsp unsweetened cocoa powder
1⁄3 cup powdered keto sweetener
1 tsp vanilla extract
1 cup sugar-free chocolate chips
1 tbsp coconut oil or butter
Directions
- Make the filling: Beat the softened cream cheese in a mixing bowl until smooth. Add the cocoa powder, powdered keto sweetener, and vanilla extract. Mix until completely combined.
- Whip the cream: In a separate bowl, whip the heavy whipping cream on medium-high speed until stiff peaks form.
- Combine: Gently fold the whipped cream into the chocolate cream cheese mixture until the filling is fluffy and evenly combined.
- Freeze: Line a dish with parchment paper and spread the mixture into an approximately 1-inch-thick layer. Freeze for 30–45 minutes, until firm.
- Cut: Remove the chilled filling from the dish and cut it into rectangular bars. Return the bars to the freezer for 15 minutes.
- Melt the coating: Add the sugar-free chocolate chips and coconut oil or butter to a microwave-safe bowl. Microwave in 20-second intervals, stirring after each interval, until smooth.
- Coat: Dip each frozen bar into the melted chocolate. Allow excess chocolate to drip off, then place the coated bars on parchment paper.
- Set: Refrigerate until the chocolate coating has completely hardened.
Notes
- Store the finished bars in an airtight container in the refrigerator for up to 1 week.
- For longer storage, freeze in a freezer-safe container with parchment between layers for up to 2 months.
- Thaw frozen bars in the refrigerator for the best texture.
- Serve cold or allow them to soften slightly before eating.
- For strict keto tracking, check the labels of the sugar-free chocolate chips and keto sweetener for their carbohydrate content.
- A small sprinkle of flaky salt over the chocolate coating can add a nice contrast.
- No reheating is needed; these bars are best enjoyed chilled.
Nutrition Facts
- Total number of serves: 8
- Calories: 180kcal
- Fat: 15g
- Cholesterol: 35mg
- Potassium: 120mg
- Carbohydrates: 8g
- Sugar: 1g
- Protein: 3g
- Calcium: 40mg
