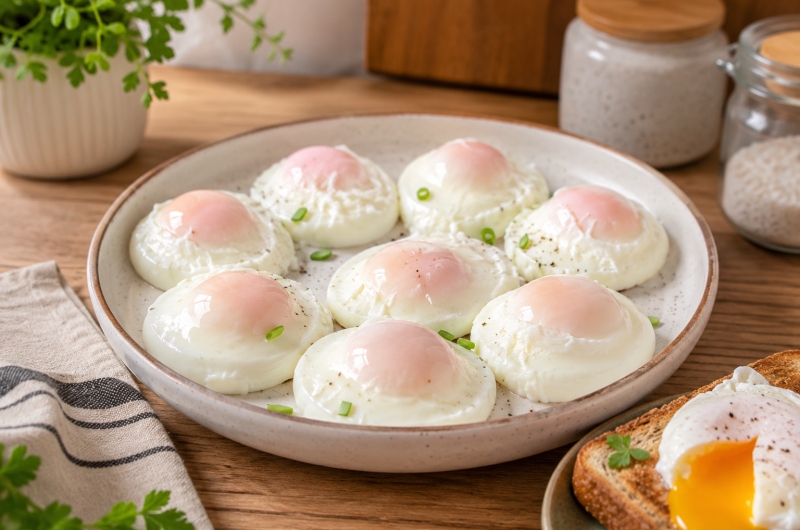

Making poached eggs at home used to feel like one of those “watch it closely or it goes wrong” breakfast tasks. A saucepan, simmering water, vinegar tricks, swirling, timing—it can get messy fast. Using an air fryer changes that routine completely. Once I started doing it this way, it became one of the easiest breakfast habits to repeat, especially when I want something light, protein-rich, and quick without standing over the stove.
What I like most about this method is that it keeps the process simple. No stirring water, no guessing when the whites will set, and no worrying about eggs spreading all over the pan. The air fryer creates a steady, controlled heat environment, and when combined with a bit of water in a ramekin, it gently cooks the egg into a soft poached texture.
This method works best when you treat it like a small breakfast routine rather than a complicated recipe. Once you prepare your cups, everything else is mostly waiting a few minutes.
Why this method works at home
The idea behind air fryer poached eggs is actually quite simple. Instead of boiling water in a pan, you use hot air circulation plus a small amount of water inside a ramekin or custard cup. That water acts like a gentle steaming base.
A few things make this method reliable:
- The water inside the cup helps keep the egg moist and prevents the edges from drying out.
- Preheating the cups with water allows the egg whites to start setting immediately when they are added.
- The controlled heat of the air fryer keeps the cooking steady, so the yolk stays soft while the white firms up.
- Cooking in individual cups means the eggs don’t spread or break apart.
It is not a “low calorie trick” or anything complicated. It is simply a more convenient way to poach eggs with less attention required.
Getting everything ready before cooking
- Before switching on the air fryer, I always set everything up first. This makes the process smooth and avoids rushing once things get hot.
- You will need small ramekins or custard cups that can safely go inside the air fryer basket. Each egg will cook in its own cup, so plan accordingly.
- Lightly spraying the inside of each cup with non-stick cooking spray is an important step. It helps the egg release easily later, especially around the edges where whites tend to stick.
- After that, water goes into each cup. About 3 tablespoons in each one is enough. This small amount creates steam without overflowing.
- Once the cups are ready, they go straight into the air fryer basket before turning it on. This helps the water heat up along with the air fryer, which is key for consistent cooking.
Preheating for better results
- The preheating step makes a noticeable difference. Instead of adding eggs into cold water, the cups are heated first.
- Set the air fryer to around 400°F (about 200°C) and let the cups warm up for about 5 minutes.
- During this time, the water becomes hot and starts creating a steaming effect. This is what helps the egg whites begin setting quickly when they are added.
- One thing to be careful about here is movement. When opening the air fryer after preheating, keep the basket steady so the hot water doesn’t splash out of the cups.
Adding the eggs carefully
- Once preheated, the next step is cracking the eggs directly into each warm cup.
- This is where the cooking process starts immediately. The egg whites may begin to turn slightly opaque as soon as they hit the hot water, which is exactly what you want.
- Try to crack the egg gently so the yolk stays centered. If the yolk breaks, it will still cook, but the final result won’t have that soft poached look.
- At this stage, the setup already resembles a mini water bath inside the air fryer.
Cooking time and temperature control
- After the eggs are in, the temperature is adjusted to around 360°F (about 180°C). This slightly lower temperature helps the eggs cook evenly without overcooking the yolks.
- The usual cooking time is about 5 to 6 minutes.
This is where personal preference matters:
- Around 5 minutes: soft whites with runny yolk
- Around 6–7 minutes: firmer yolk, slightly jammy texture
- It is always better to check earlier rather than later because the eggs continue cooking slightly even after the air fryer is turned off due to retained heat in the water.
- Different air fryer models can vary, so the first few attempts may require small adjustments
Checking doneness properly
- When the timer goes off, I usually check one egg first instead of assuming all are done perfectly.
- The whites should be set but not rubbery. The yolk should still have a slight wobble if you prefer it runny.
- If more cooking is needed, I add only one extra minute at a time. Small adjustments work better than guessing longer times.
Removing the eggs safely
- This part needs a bit of care because both the cups and water are hot.
- I usually use tongs or a heat-safe grip to lift the ramekin out of the air fryer. Then I gently run a small flexible spatula around the edge of the egg.
- If the egg is sticking slightly, loosening the edges first helps it slide out cleanly.
- After that, a spoon is enough to lift the egg out of the cup and place it onto toast or a plate.
- The texture at this stage is soft, delicate, and best enjoyed immediately
Serving ideas at home
- These poached eggs fit easily into everyday breakfast routines. The simplest way is placing them on toast, letting the yolk spread slightly.
- They also work well over avocado toast or alongside simple breakfast plates.
- Because they are cooked without added fat, they feel light but still filling due to the protein content
Tips from repeated home use
After making this several times, a few small things help improve consistency:
- Fresh eggs always give better shape and cleaner whites.
- Silicone cups are not ideal because they don’t conduct heat as well.
- Room-temperature eggs cook slightly more evenly than very cold ones.
- Always keep an eye on timing during the first try with a new air fryer.
- Avoid overcooking if you want a runny yolk, since residual heat continues the cooking process
This method becomes easier with repetition. After a few tries, it turns into a quick breakfast habit rather than a recipe you have to think about. The biggest advantage is that it frees you from constant monitoring, while still giving you a soft, well-shaped poached egg.
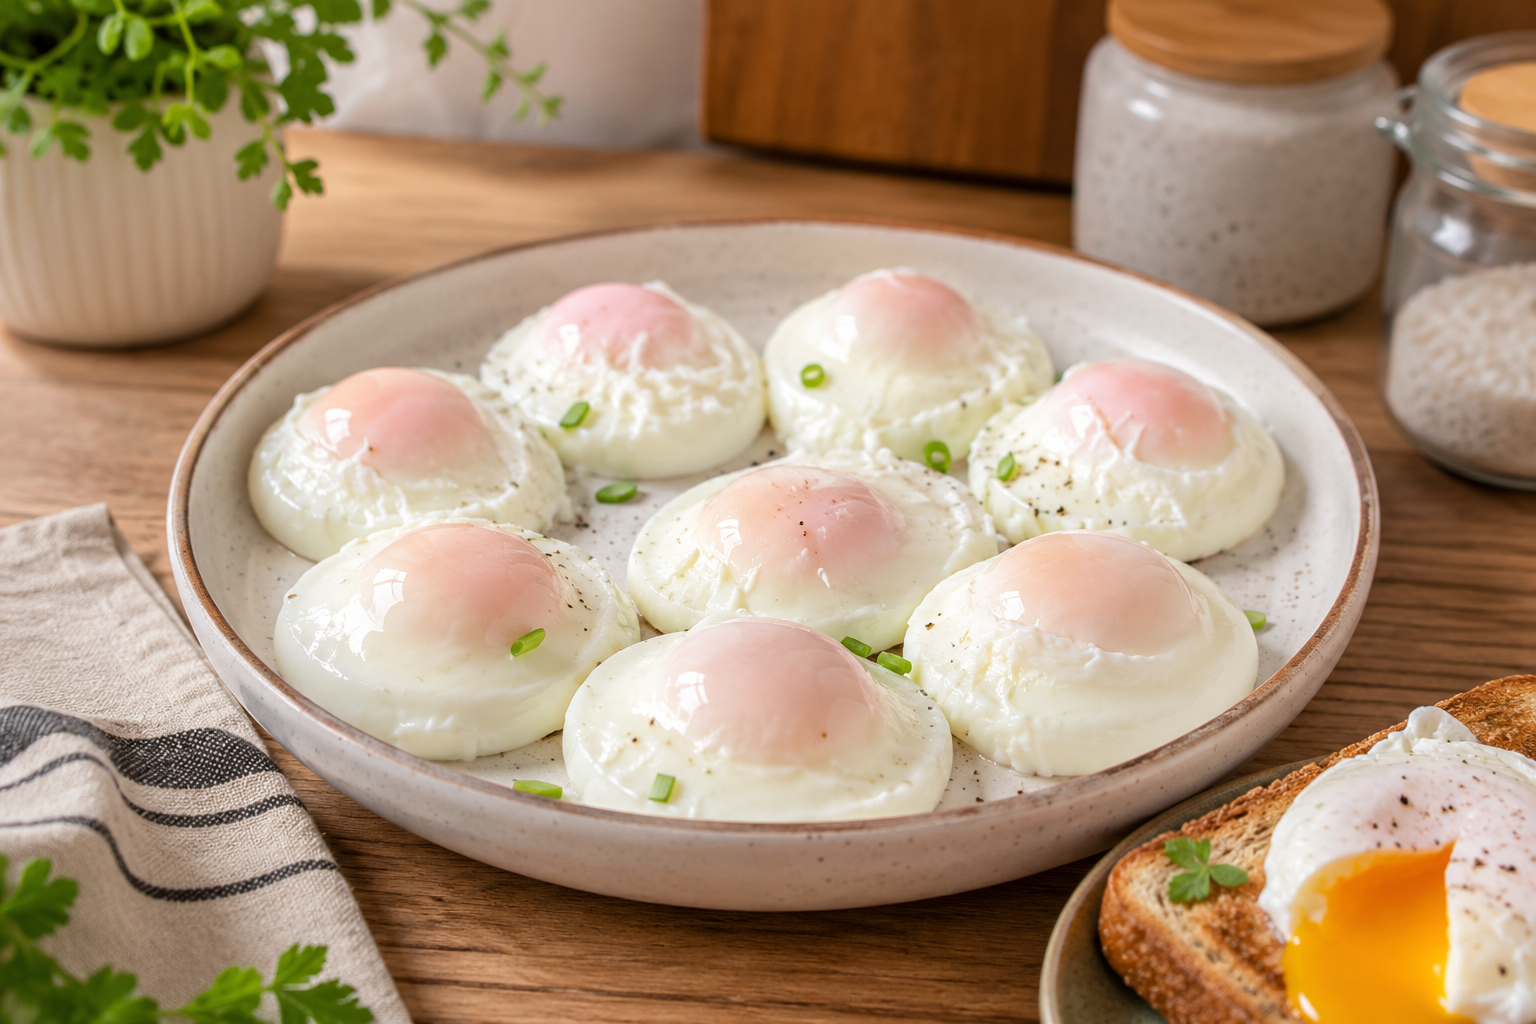
Air fryer pooched eggs
Easy air fryer poached eggs made in ramekins using water for gentle steaming. Quick, soft, and perfect for breakfast toast or bowls
4
servings5
minutes5
minutes120
kcalIngredients
Eggs (any quatity)
Non-stick cooking spray
Water (3 tablespoons per egg)
Directions
- Lightly spray ramekins or custard cups with non-stick cooking spray.
- Add 3 tablespoons of water into each cup.
- Place cups in the air fryer basket and preheat at 400°F (200°C) for 5 minutes
- Carefully open the air fryer and crack one egg into each hot cup
- Check doneness; add 1 extra minute if needed.
- Carefully remove cups. Loosen edges with a small spatula and lift eggs out gently with a spoon
Notes
- Eggs are best eaten immediately after cooking.
Cooking time may vary depending on air fryer model and egg size.
.
For firmer yolks, cook slightly longer.
.
Silicone cups are not recommended for this method.
Nutrition Facts
- Serving Size: 4 g
- Total number of serves: 4
- Calories: 252kcal
- Fat: 16g
- Saturated Fat: 4g
- Trans Fat: 8g
- Polyunsaturated Fat: 4g
- Monounsaturated Fat: 4g
- Cholesterol: 656mg
- Sodium: 248mg
- Potassium: 244mg
- Carbohydrates: 4g
- Sugar: 4g
- Protein: 24g
- Calcium: 100mg
- Iron: 4mg
