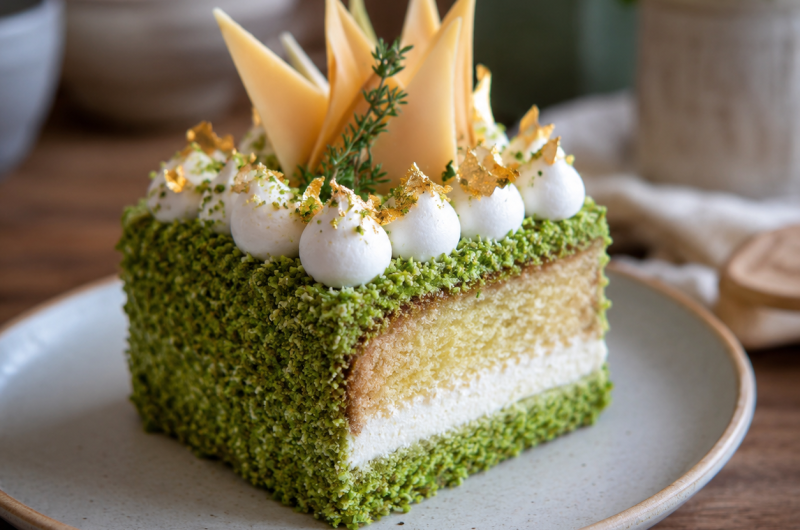

Honey pear cake is a simple homemade fruit cake that combines tender buttery cake, juicy ripe pears, vanilla, Demerara sugar, and a delicate honey glaze. It is an easy pear cake that looks beautiful on the table without requiring complicated decorating techniques. The pear slices are arranged over the cake batter before baking, allowing the fruit to soften naturally while the cake rises around it. After baking, a little warmed honey is brushed across the surface to create a glossy finish, followed by a final sprinkle of Demerara sugar for a subtle crunch.
This easy fruit cake is wonderfully versatile and can be served at almost any time of day. Enjoy a slice plain with breakfast, serve it alongside tea or coffee for an afternoon treat, or turn it into a comforting dessert with whipped cream, custard, or ice cream. The combination of rich buttery cake and naturally sweet pears makes this recipe especially appealing when you want something homemade, satisfying, and uncomplicated.
Why This Pear Cake Is So Special
The appeal of this honey pear cake comes from its simplicity. There are no complicated layers, fillings, or frosting to prepare. Instead, the recipe relies on a good buttery cake batter, fresh pears, and a few simple finishing touches. The pears become soft and fragrant in the oven, while the cake develops a golden exterior and tender crumb. The result is a rustic dessert that feels elegant enough for guests but easy enough for everyday baking.
The honey adds a distinctive finishing touch. Rather than making a heavy icing, the baked cake is brushed with slightly warmed honey. This gives the surface a beautiful shine and adds a gentle sweetness that works naturally with the pears. Demerara sugar provides a contrasting texture, creating little crisp areas on the surface. Together, these ingredients make a cake that has a pleasant mixture of soft, tender, juicy, and lightly crunchy textures.
Another benefit of this recipe is its flexibility. You can serve the cake at room temperature or slightly warm, depending on how you plan to enjoy it. A plain slice is ideal for breakfast or afternoon tea, while a warm serving with ice cream or custard makes an excellent dessert. Because the pear topping provides natural decoration, there is no need for additional cake decorating.
Choosing the Right Pears
Selecting pears with the right level of ripeness is important for achieving the best result. The recipe calls for two medium pears that are ripe but not too soft, with each pear weighing around 170 grams. Firm-ripe pears are easier to peel, core, and cut into neat wedges. They also hold their shape better while baking, helping the finished cake maintain an attractive appearance.
Avoid pears that are extremely soft or heavily bruised. Very soft fruit can be difficult to slice and may release more moisture into the cake as it bakes. A pear with some firmness provides a better balance of texture and sweetness. The fruit should be mature enough to have good flavor but firm enough to withstand being peeled, cored, and arranged over the uncooked batter.
Once the pears are prepared, cut them into wedges. Approximately 12 slices from each pear is a useful guide, although the exact number is not essential. Pears vary naturally in size, so focus on creating an attractive arrangement rather than making every piece identical. You may not need to use every slice, depending on the size of the fruit and how you arrange it on the cake.
Preparing the Cake Batter
The foundation of this pear cake is a simple buttery batter. Begin by sifting the flour, baking powder, and salt together. This helps distribute the baking powder evenly throughout the flour and removes any lumps. Preparing the dry ingredients in advance also makes it easier to incorporate them gradually into the butter mixture.
The butter and sugar should be creamed together until light and fluffy. This step is important because it contributes to the final texture of the cake. The mixture should look noticeably lighter and softer after creaming. A stand mixer can be used, although a large bowl and electric hand mixer work well too.
The eggs are added gradually rather than all at once. Add one egg to the butter and sugar mixture and blend it in. Follow with about one-third of the flour mixture. Continue with the remaining eggs and flour mixture in stages, adding the vanilla as specified. This method allows the ingredients to combine evenly and helps maintain a smooth cake batter.
Once the batter is ready, spoon it into the prepared pan. Spread it gently into an even layer, taking care not to overwork the mixture. The batter does not need to be perfectly smooth because the pear slices will cover much of the surface.
Preparing the Baking Pan
An 8-inch round springform pan is recommended for this honey pear cake. Grease and flour the pan thoroughly before adding the batter. Proper preparation helps prevent sticking and makes it easier to remove the finished cake after it has cooled slightly.
A 7-inch square pan can also be used. The finished cake will have a different shape, but the recipe can still be prepared successfully. If using another pan, remember that the depth of the batter may affect the cooking time. Always check the cake for doneness rather than depending entirely on the stated baking time.
Preheat the oven to 350°F (175°C) before baking. Starting with a properly heated oven helps the cake rise and bake evenly. Having the oven and pan ready before assembling the cake also makes the preparation process more efficient.
Arranging the Pears
Once the batter is in the pan, arrange the pear wedges over the surface. This is where the cake begins to take on its attractive appearance. The slices can be arranged in a circular pattern or placed naturally across the batter. There is no need for perfect symmetry because the rustic appearance suits this type of homemade fruit cake.
Try to distribute the pears reasonably evenly so each serving has some fruit. Avoid piling too many slices into one section. Depending on the size of the pears, you may have a few pieces left over. That is perfectly fine. It is better to create a balanced topping than to overcrowd the surface simply to use every piece.
Once the pear slices are arranged, sprinkle one tablespoon of Demerara sugar over the cake. The sugar adds sweetness and develops a lightly crisp texture during baking. Its deeper flavor complements the fruit and gives the cake a more interesting surface.
Baking the Honey Pear Cake
Place the prepared pan into the preheated oven and bake for approximately 45 minutes. As the cake cooks, the batter should rise and turn golden brown, while the pears become tender. The combination of butter, vanilla, sugar, and baked fruit creates an inviting aroma as the cake develops its finished texture.
The exact cooking time can vary slightly between ovens, so the 45-minute time should be treated as a guide. Toward the end of baking, check the cake carefully. It should look risen and golden, and a cake tester inserted into the cake should come out clean.
When testing the cake, try to insert the tester into an area that does not contain a large piece of pear. Fruit can make the tester appear moist even when the surrounding cake is fully baked. Checking the sponge itself gives a more accurate indication of doneness.
If the cake needs additional time, continue baking until the center is properly cooked. Avoid removing it simply because the pears have browned. The surface may become golden before the cake underneath has finished baking.
Cooling the Cake
Once the cake is baked, allow it to cool for approximately 10 minutes before removing it from the pan. This short resting period allows the cake to settle and become easier to handle. A freshly baked cake is still delicate, so removing it immediately can make it more difficult to transfer without damaging the structure or topping.
After cooling briefly, carefully release the springform pan. Transfer the cake to a serving plate or cooling surface. Handle the cake gently, particularly around the edges and pear slices.
The cake can be served warm, slightly warm, or at room temperature. If you are planning to serve it with ice cream, a slightly warm slice is particularly appealing. For breakfast or afternoon tea, allowing the cake to cool more completely can make slicing easier.
Adding the Honey Finish
The honey topping is what gives this pear cake its distinctive final appearance. Warm the honey slightly before applying it. The purpose is simply to make it easier to spread; the honey does not need to be hot.
Use a pastry brush or suitable kitchen brush to spread the warmed honey over the entire surface of the cake. Cover the pears as well as the exposed areas of cake. The honey gives the top a beautiful glossy appearance and adds a gentle layer of sweetness.
Once the honey has been applied, sprinkle the remaining tablespoon of Demerara sugar over the surface. The amount can be reduced if preferred. The sugar adds a lightly crunchy finish and creates an appealing contrast against the soft pears and tender cake.
This simple finishing method eliminates the need for frosting or icing. The result is attractive enough to serve as it is, while still allowing you to add cream, custard, or ice cream when serving it as a dessert.
How to Serve Honey Pear Cake
There are many ways to enjoy this easy pear dessert. For breakfast, serve the cake plain with tea or coffee. The buttery sponge and soft pears make it satisfying without needing any additional toppings. It is a lovely alternative to ordinary breakfast pastries and can also be served as part of a relaxed weekend brunch.
For afternoon tea, cut the cake into eight portions and arrange the slices on a serving plate. The pear topping and honey finish provide enough decoration to make the cake look inviting. Serve it at room temperature or slightly warm, depending on your preference.
For dessert, pair the cake with freshly whipped cream, custard, or ice cream. The creamy accompaniments complement the tender cake and soft pears particularly well. Warm cake with cold ice cream creates a pleasant temperature contrast, while custard provides a smooth and comforting pairing.
Tips for the Best Honey Pear Cake
For the best results, use pears that are ripe but still firm. This gives you fruit that is flavorful while remaining easy to prepare and arrange. If the pears are too soft, they may lose their shape during baking and contribute excess moisture to the cake.
Take time when creaming the butter and sugar. A light and fluffy mixture helps create a tender cake texture. Once the flour has been added, avoid unnecessary mixing. The batter only needs to be blended until the ingredients are evenly incorporated.
When arranging the pears, do not worry about using every slice. The recipe allows for some variation depending on the size of the fruit. Focus on a neat, balanced arrangement that leaves enough space for the cake batter to rise.
The honey should be warmed gently. It only needs to become slightly more fluid so it can be brushed easily across the surface. After adding the honey, adjust the final amount of Demerara sugar according to your preference.
Notes About the Baking Pan
The recommended pan is an 8-inch round springform pan, but a 7-inch square pan is also suitable. Greasing and flouring the pan before adding the batter is an important step because it helps the cake release more easily after baking.
If you choose another pan size, monitor the cake carefully because the baking time may change. A cake baked in a deeper pan can require additional time, while a shallower cake may cook more quickly. The most reliable indicators are the golden color, risen appearance, and clean cake tester.
Allow the baked cake to cool briefly before removing it from the pan. This makes it easier to handle and helps protect the delicate crumb and pear topping.
A Versatile Homemade Fruit Cake
Honey pear cake works particularly well because it can be adapted to different occasions without changing the recipe itself. A plain slice feels simple enough for breakfast, while the addition of cream or ice cream makes it suitable for dessert. This versatility makes it a useful recipe to keep on hand when you want a homemade cake that can serve several purposes.
The cake is also appealing because its decoration comes directly from the ingredients. The pear wedges create a naturally attractive surface, while honey provides shine and Demerara sugar adds texture. There is no requirement for professional piping, complicated icing, or decorative equipment.
For casual entertaining, the cake can be prepared in advance and served once it has cooled. For a more indulgent presentation, warm individual slices gently and serve them with your chosen creamy accompaniment.
Why This Easy Pear Cake Works
The recipe succeeds because each ingredient contributes something important. Butter creates richness, sugar provides sweetness, eggs give the cake structure, and flour combined with baking powder creates the tender sponge. Vanilla adds fragrance, while the pears provide fruit flavor and moisture.
Honey enhances the fruit rather than covering it. Its role as a light glaze means the cake remains relatively simple while gaining a glossy, finished appearance. Demerara sugar adds a delicate crunch that contrasts with the softness of the baked pears.
The result is an easy fruit cake with several appealing textures in every bite. The crumb is tender, the pears are soft, the honey is smooth, and the sugar adds a little crispness. It is a straightforward combination that produces a dessert with plenty of character.
This easy honey pear cake is a dependable homemade bake for anyone who enjoys simple fruit desserts. It combines ripe pears with a buttery cake base, vanilla, honey, and Demerara sugar to create a dessert that feels both rustic and elegant. The preparation is uncomplicated, yet the finished cake has enough visual appeal to serve to family or guests.
Whether enjoyed plain with a cup of tea, served as an afternoon snack, or paired with custard, whipped cream, or ice cream for dessert, the cake is flexible enough for almost any occasion. The natural sweetness of the pears works beautifully with the honey, while the buttery sponge provides a rich foundation.
With a short preparation time and straightforward baking method, this pear cake is an excellent option when you want a homemade dessert without complicated techniques. The combination of tender cake, soft pears, glossy honey, and lightly crisp Demerara sugar makes every slice inviting, comforting, and full of simple flavor.
HONEY PEAR CAKE
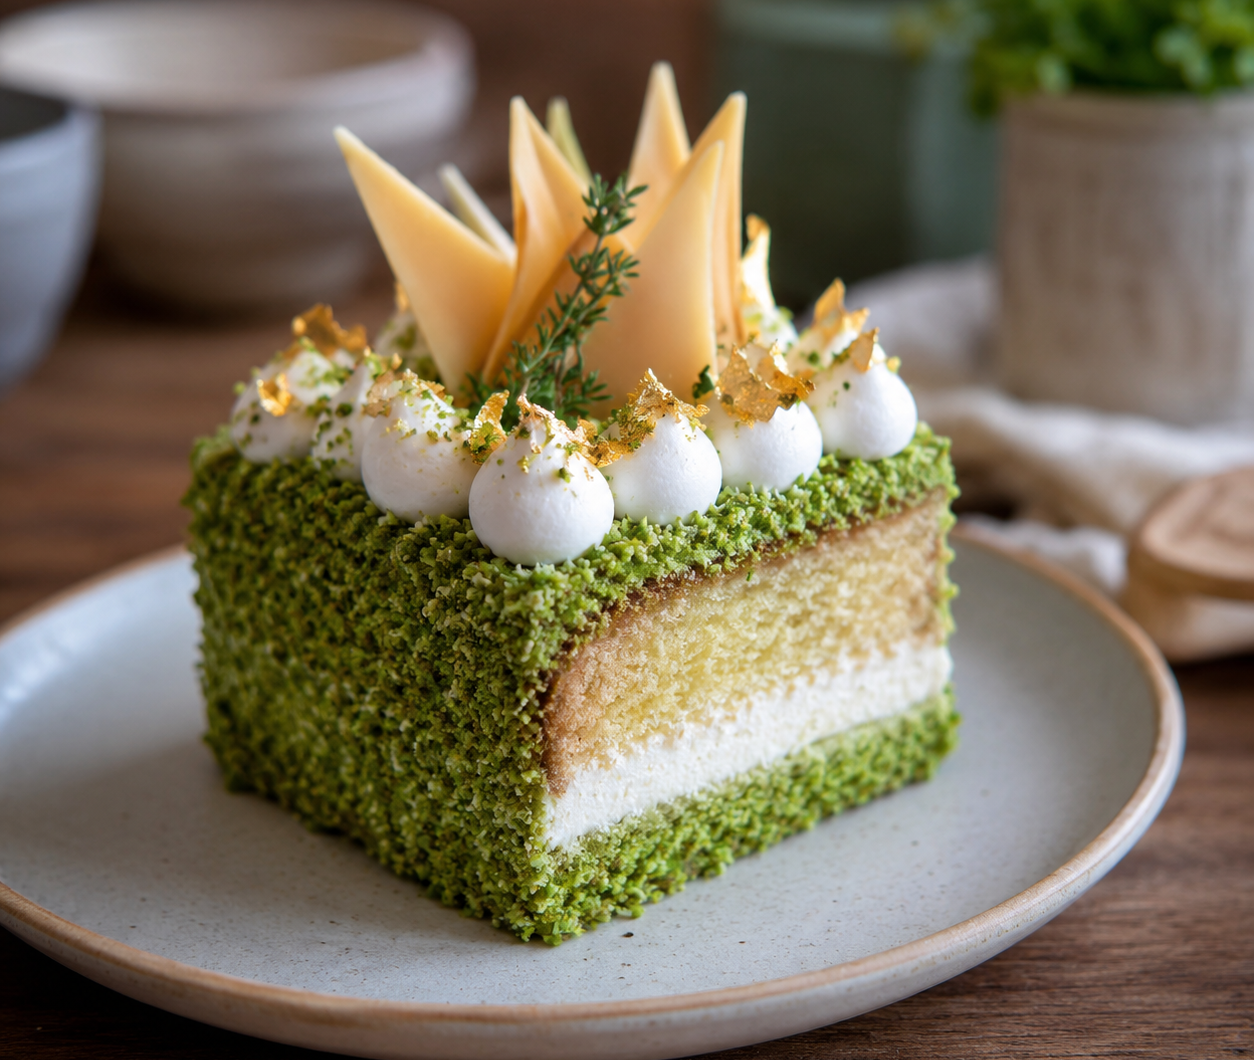
An easy honey pear cake made with buttery cake batter, ripe pears, vanilla, Demerara sugar, and honey. The pears soften beautifully while baking, and the finished cake receives a glossy honey coating and a final sprinkle of Demerara sugar.
8
servings15
minutes45
minutes336
kcal5
minutes1
hour5
minutesIngredients
- US Measurements
1 c flour all purpose/plain
1 tsp baking powder
1 pinch salt
¾ c butter good quality
¾ c sugar
3 eggs organic
1 tsp vanilla
2 medium ripe (but not too soft) pears (about 170 g each)
2 Tbsp Demerara sugar divided
2 Tbsp honey good quality
- Metric Measurements
175 g flour all purpose/plain
1 tsp baking powder
1 pinch salt
175 g butter good quality
165 g sugar
3 eggs organic
1 tsp vanilla
2 medium ripe (but not too soft) pears (about 170 g each)
2 Tbsp Demerara sugar divided
2 Tbsp honey good quality
Directions
- Prepare the Oven and Pan
- Preheat the oven to 350°F (175°C). Grease and flour an 8-inch round springform pan. A 7-inch square pan can also be used according to the recipe notes.
- Combine the Dry Ingredients
- Sift the flour, baking powder, and salt together into a bowl. Set this mixture aside while preparing the cake batter.
- Cream the Butter and Sugar
- Place the butter and sugar in a large bowl or stand mixer. Beat them together until the mixture becomes light and fluffy.
- Add the Eggs and Flour
- Add one egg and mix it into the butter mixture. Follow with approximately one-third of the flour mixture and blend well. Continue adding the remaining two eggs along with the rest of the flour mixture. Add the vanilla and mix until the batter is properly combined.
- Fill the Pan
- Spoon the prepared batter into the greased and floured pan. Spread the mixture gently so the surface is reasonably even.
- Prepare the Pears
- Peel and core the pears. Cut each pear into wedges, making approximately 12 slices from each pear.
- Arrange the Pears
- Arrange the pear wedges over the surface of the cake batter. Depending on the size of the pears, you may not need to use every slice.
- Add Demerara Sugar
- Sprinkle one tablespoonful of Demerara sugar over the top of the arranged pears.
- Bake
- Place the pan in the preheated oven and bake for approximately 45 minutes, or until the cake has risen, turned golden brown, and a cake tester inserted into the cake comes out clean.
- Cool
- Allow the baked cake to cool for 10 minutes, then carefully remove it from the pan.
- Add the Honey
- Warm the honey slightly so it becomes easier to spread. Brush the warm honey over the entire top of the cake.
- Finish with Demerara Sugar
- Sprinkle the remaining one tablespoonful of Demerara sugar over the honey-coated cake. Use less if preferred.
- Serve
- Slice the honey pear cake and serve it on its own, or accompany it with freshly whipped cream, custard, or ice cream.
Notes
- Choosing Pears
Use medium pears that are ripe but not too soft. Firmer ripe pears are easier to peel and slice and are more likely to maintain their shape during baking. - Pan Options
An 8-inch round springform pan is recommended. A 7-inch square pan can also be used. - Honey Finish
Warm the honey only slightly before brushing it over the cake. This makes it easier to spread evenly across the pear topping. - Demerara Sugar
The recipe divides the Demerara sugar between the baking stage and the final finish. The final amount can be reduced if you prefer a less sweet topping. - Serving Ideas
The cake can be served plain for breakfast or an afternoon snack. For a more indulgent dessert, serve individual slices with freshly whipped cream, custard, or ice cream.
Nutrition Facts
- Calories: 336kcal
- Fat: 19g
- Carbohydrates: 38g
- Protein: 4g
